
Preserved oranges are an easy way to capture the unique flavor of oranges while adding a kick! After fermentation in the preserving jar, you’ll always have a supply in your fridge. They’re so nice! I can’t imagine my kitchen without preserved lemons, which made me curious to try preserved oranges. I use lemons a lot because they fit into so many dishes. Oranges have a more bitter taste, which is less universal, but when added to the right recipes, they’re fantastic.
You can use preserved oranges in desserts or baking as a substitute for fresh orange zest. Alternatively, they can add flavor to savory dishes, marinades, and salad dressings. They bring a tart, salty, and slightly bitter orange flavor to your meals.
This preserving recipe is incredibly simple, requiring only oranges, salt, and sugar. The magic happens through the process of lactic acid bacteria fermentation. This method takes time—so patience is required, but it’s well worth the wait!
Ingredients for making Preserved Oranges:

- Organic oranges
- Sea salt or other natural untreated salt
- Sugar
Optional Decoration:
- Herbs if you like, here: rosemary twigs
Needed Equipment:
- Preserving jar with wire jar and rubber ring, or another fermentation jar
- Glass fermentation weights (or a small glass bowl). The oranges must always be fully submerged in brine; otherwise, mold can develop. This is why they need to be pressed down, for example, with special glass fermentation weights. Please do not use any plastic or metal objects.

Wash or boil out the preserving jar with hot water before using it. Hygiene is the most important thing when preserving!
How to make Preserved Oranges:
Here’s a short tutorial video that quickly explains the recipe, it works like with lemons:
Preparing the Oranges:


People say that organic oranges are free from treatment, but experts recommend washing them with hot water. Then, they suggest rubbing them dry to remove the natural wax layer that covers every orange. So, we start our canning process with a large bowl of hot water and add the oranges. Then, we rub them dry with a kitchen towel.
Filling the Preserving Jar:

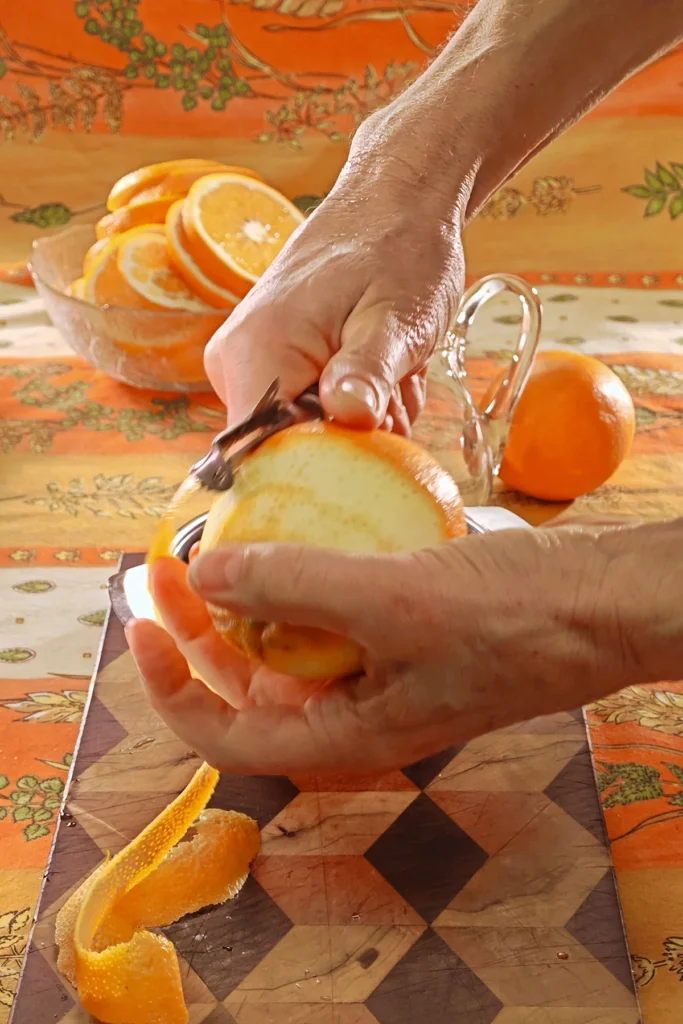
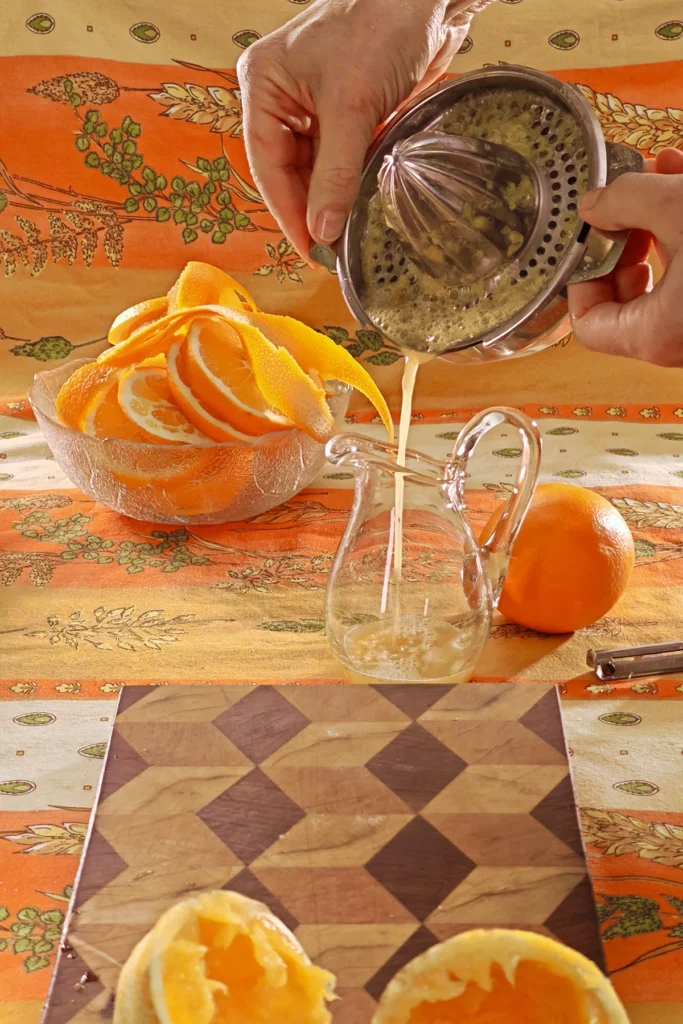
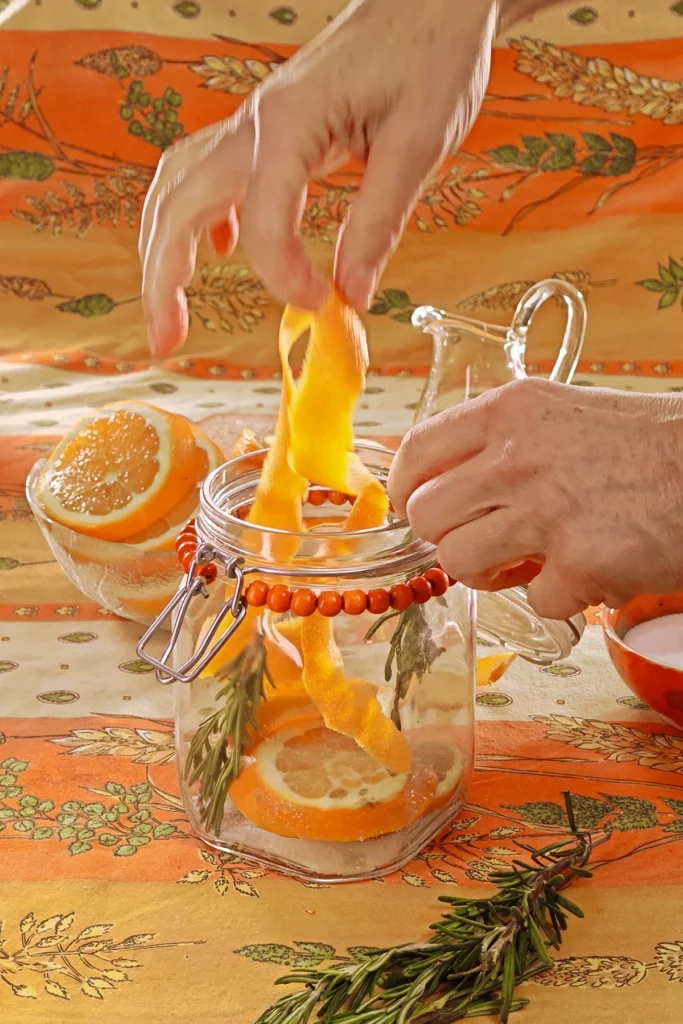
Next, cut three oranges into slices about 5 mm (approx. 0.2 inches) thick. Take out the seeds and throw away the ends. Peel the forth orange with a potato peeler and add the peel to the orange slices. After that, squeeze the juice out of the orange with a citrus juicer – set aside for now.
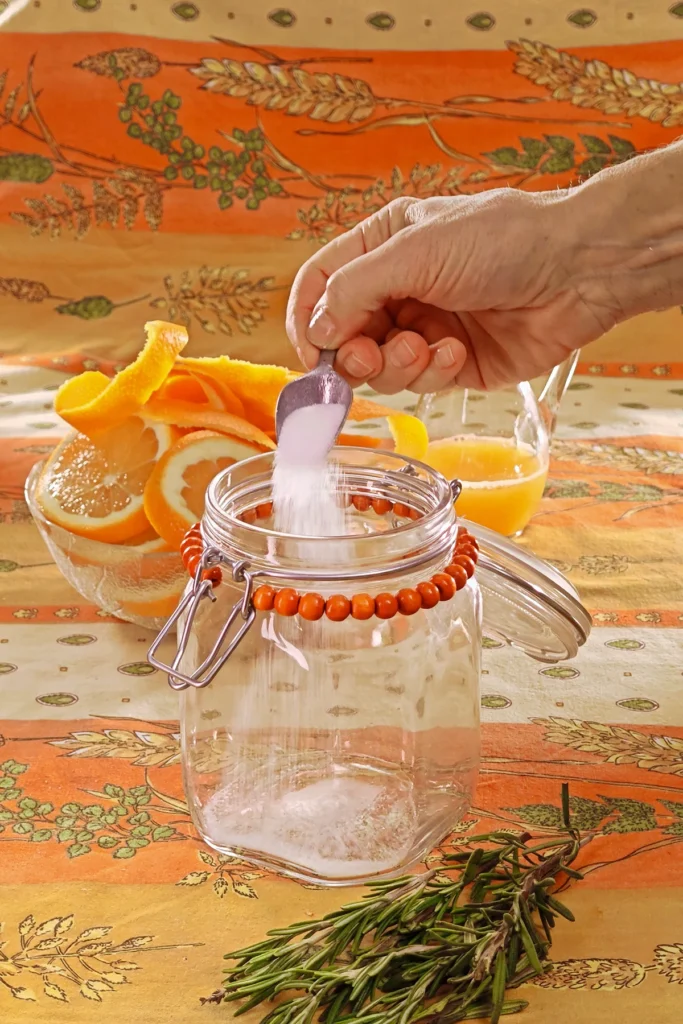
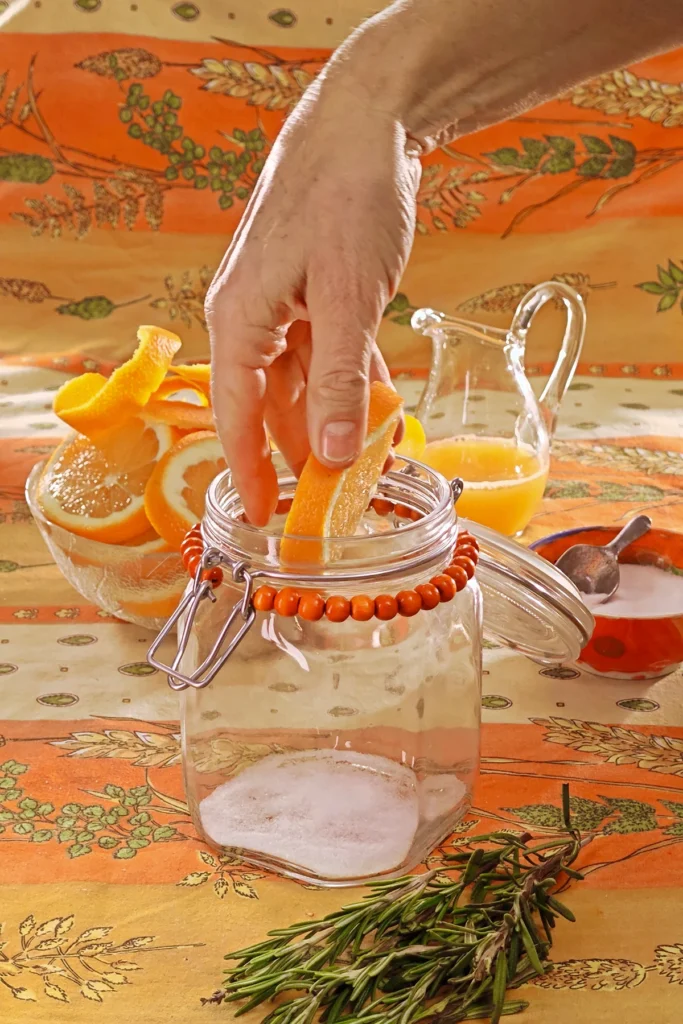
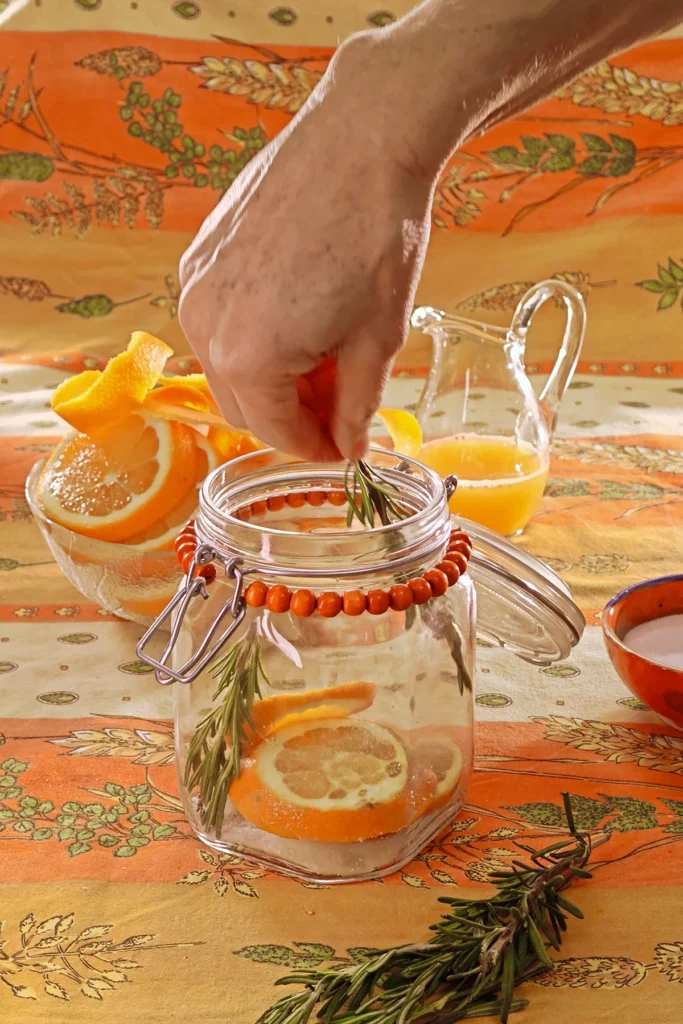
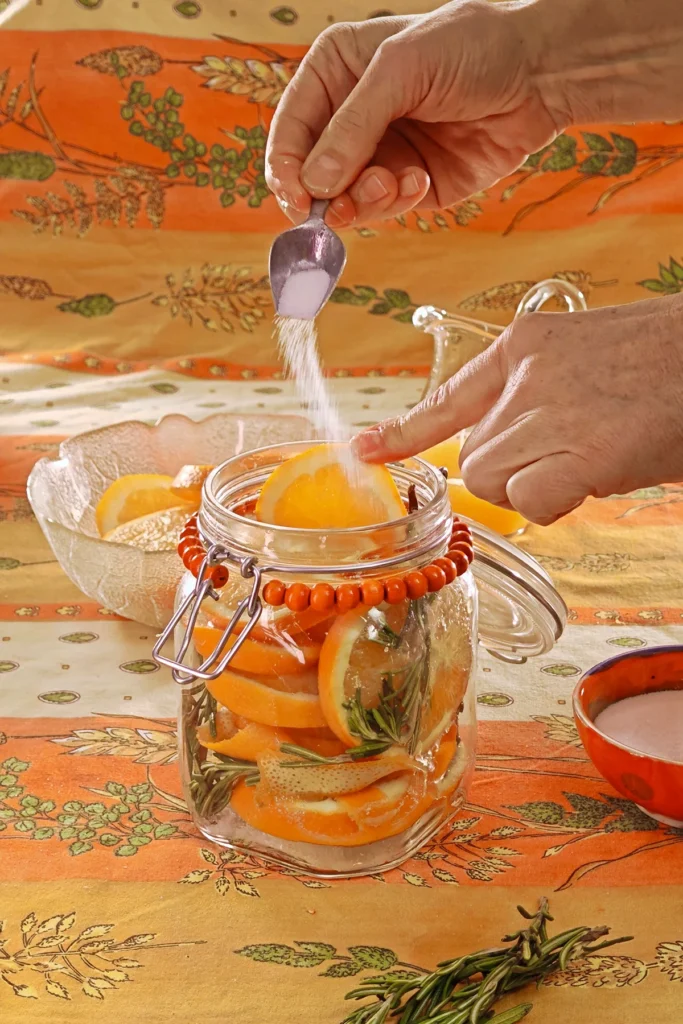
Now, mix the salt and sugar in a bowl. Then, take the freshly cleaned preserving jar and add two spoonfuls of the salt mixture first, then start layering. Take the orange slices/peel and alternate layers of oranges and salt mixture. Sprinkle the salt generously between the layers.
To determine the exact amount of salt and sugar to use, start by weighing the fruit you want to ferment. Then, calculate 2% of its weight—that’s the minimum amount of salt needed. I preferred to use a little more, so I opted for 3% salt in this recipe. A quick calculation: My fruit weighed 700g, and 3% of that is 21g. So I used 21g of salt. I use a salt-to-sugar ratio of 3 to 1, which means I needed 7g of sugar.
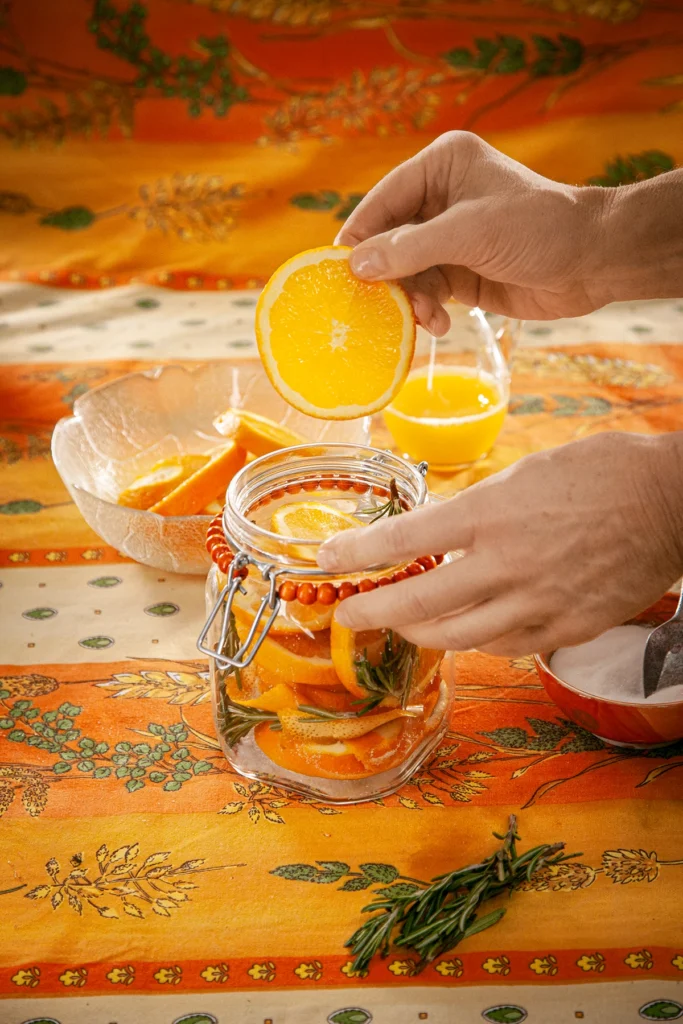
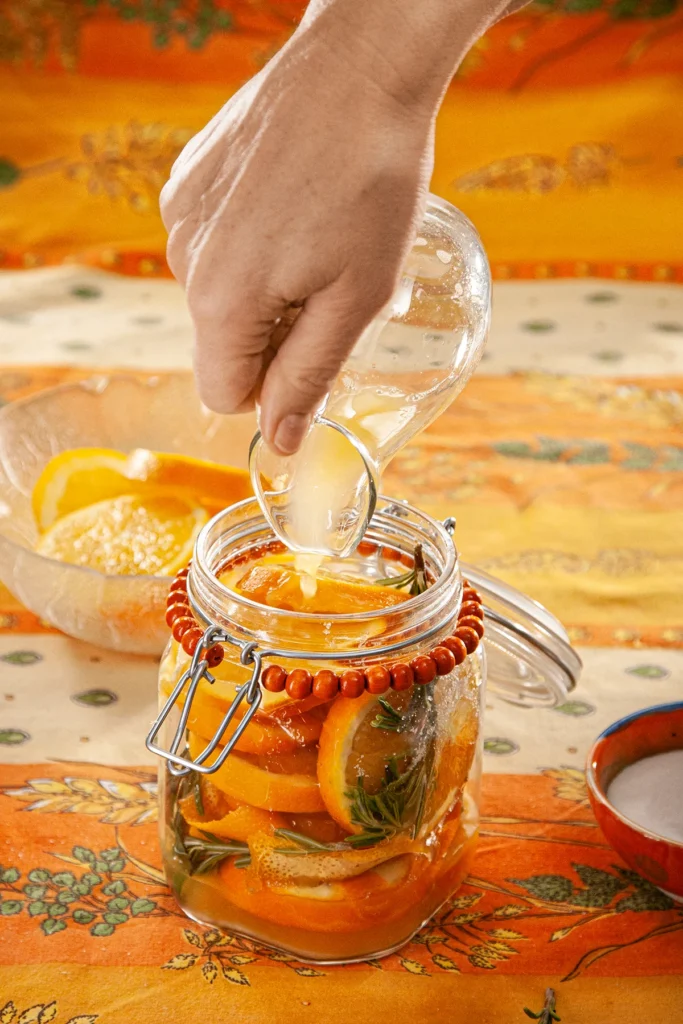
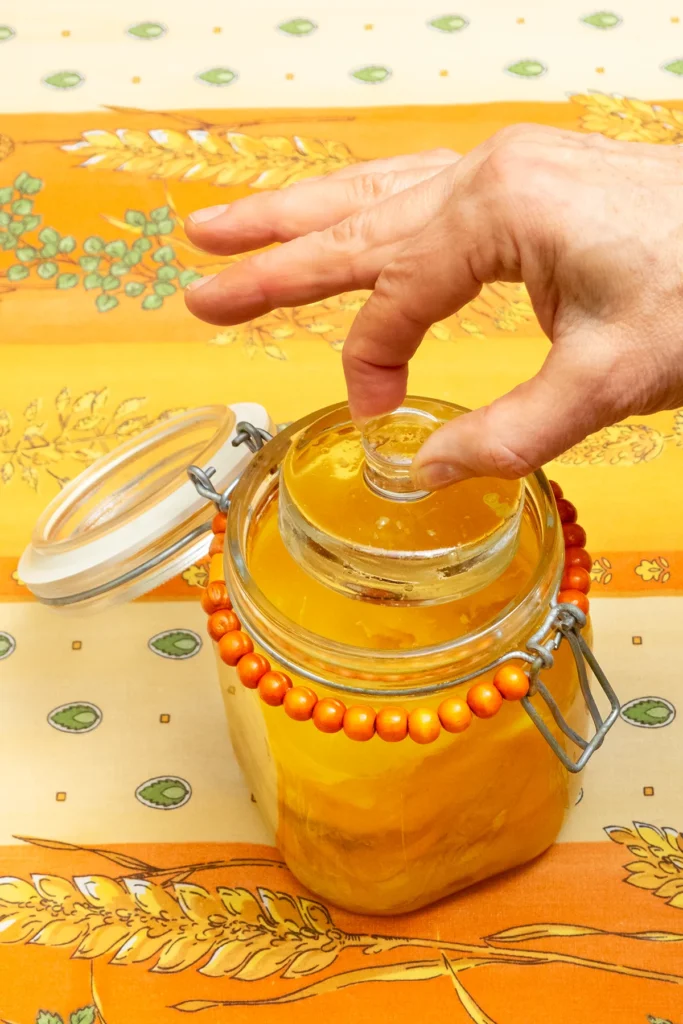
Fill the jar almost to the top, and add the orange juice. Then use a ferment glass weight on top (or a glass bowl), to keep the fruit under the liquid. It’s important to keep the oranges fully submerged to prevent mold!

If there’s not enough liquid to cover them right away, just close the jar and wait a day. The salt will pull juice from the fruit, which should be enough to cover the slices. If there’s still not enough liquid the next day, top it up with boiled water until everything is fully covered.
Trick to speed up fermentation:
Do you already have a jar of finished fermented oranges? Take a few spoonfuls of the brine and add them to your new batch. The beneficial bacteria in the old brine will help kick-start the fermentation process.
Finally, leave the jar to ferment at room temperature for three-four weeks.
Monitoring the Preserved Oranges Fermentation Process for around 3 to 4 weeks:
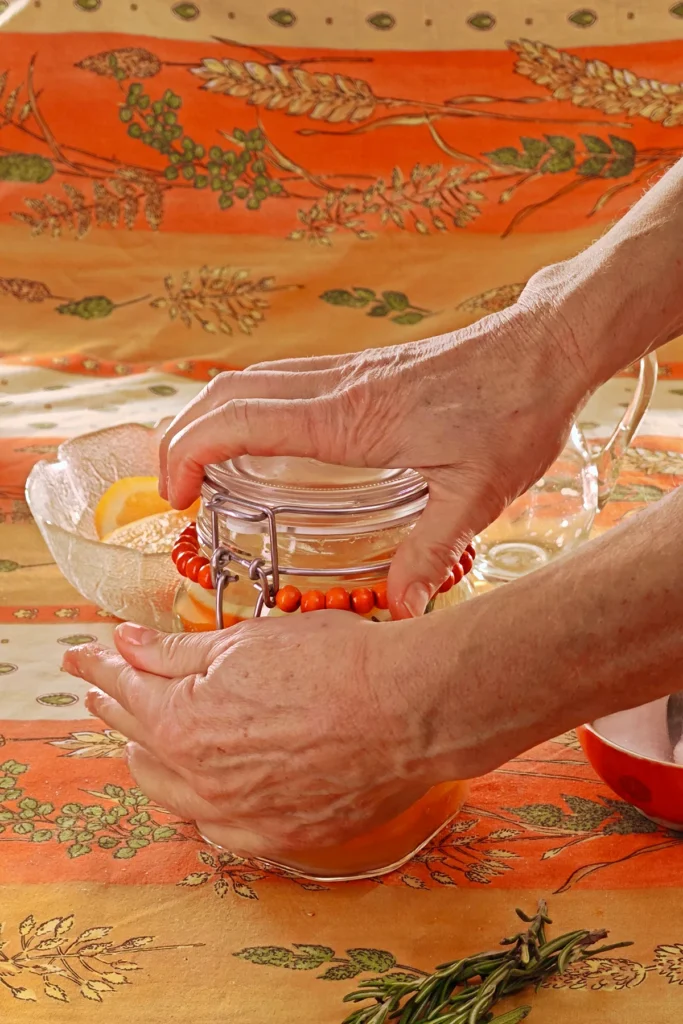
Now, patience is key: Swirl the jar every three days to distribute the liquid evenly. Turning the jar is important to redistribute the salt to all the fruit slices. This also helps release CO₂ gas to the top. As long as the oranges stay fully submerged in the brine, the fermentation remains safe. The brine protects the oranges from oxygen and prevents unwanted microorganisms from visiting.
Every three days, you should briefly open the lid of the jar to release excess CO₂. The gas is produced during fermentation, and it is better to let it escape—especially in tightly sealed jars with screw caps. Jars with a rubber ring seal usually regulate the pressure automatically. The rubber ring prevents oxygen from entering the jar while allowing the gas to escape.Still, I briefly opened the handle every three days, and the CO₂ puffed out, which somehow made me feel safer. If you hear bubbles or a slight hiss, it indicates that fermentation is active—a good sign!
After around 3 to 4 weeks, fermentation is complete, so you can stop opening the lid regularly. Once the oranges are fully fermented, they will no longer develop significant pressure from CO₂.
Storage and Shelf Life of the Preserved Oranges:
After fermentation, you can simply store the oranges in the refrigerator. The cold will greatly slow the residual fermentation process and make the oranges last longer. It is still important to keep the oranges completely covered by the brine! The brine will prevent mold from forming and keep the oranges fresh. Fermented oranges can be stored for several months, sometimes up to a year. Check for any signs of them turning bad, like weird taste, bad smell, or visible changes like mold! When in doubt, throw it out!
If you would like to watch a film about the steps involved, I have attached here our “preserved lemons” film, or in the recipe card below. Instead of lemons, just think of our oranges!
FAQ
Unrefined salt contains minerals that are important for the fermentation process. This includes primordial salt, Himalayan salt, and rock salt. They come from ancient salt deposits with no direct contact with today’s environmental pollution.
If you want to use sea salt, look for high-quality, tested products from trustworthy manufacturers. Sea salt is often contaminated with harmful microplastics due to ocean pollution.
Under no circumstances should salt with artificial anti-caking agents or additives (like iodine) be used for fermentation. Iodine can, for example, hinder the growth of important lactic acid bacteria.
Salt works as a preservative. The added salt removes moisture from the oranges, creating a brine. This brine also acts as a protective layer, inhibiting the growth of spoilage bacteria. After 3-4 weeks, the orange juice in the jar becomes a viscous, syrupy juice. Don’t discard it, it is amazingly good for seasoning.
Over time, naturally occurring lactic acid bacteria found on the surface of the oranges start to ferment them. This process produces lactic acid, which lowers the pH value of the oranges. It also preserves them and enhances their aroma with a unique flavor. The activity is supported by the oranges’ natural sugars. The added sugar is optional and primarily serves to enhance fermentation. The color of the fruit changes over time. Also, their peel texture softens.
I hope you enjoyed this preserved oranges recipe. Let me know what you think in the comments below!
Some Recipe Suggestions:
- Preserved lemons
- Pickled cauliflower
- Quick pickled radish
- Pickled jalapeno recipe
- Pickled garlic recipe
- Crunchy quick pickled carrots
- Delicious pickled beets recipe
- Do Chua (Vietnamese pickle)
- Fresh pickled red cabbage
- Pickled onions

Preserved Oranges
Preserved oranges are an easy way to keep the unique flavor of the orange. They add a tart, salty, bitter orange fruit flavor to your meals.
- Total Time: 4 Weeks
- Yield: 700g 1x
Ingredients
- 700g organic oranges
- 21g sea salt or other natural untreated salt
- 7g sugar
Instructions
Preparing the Oranges:
Wash the oranges in hot water. Then, rub them dry with a kitchen towel.
Cut three oranges into slices about 5 mm (approx. 0.2 inches) thick.
Take out the seeds and throw away the ends.
Peel one orange with a potato peeler and add the peel to the orange slices.
Squeeze the juice out of the orange with a citrus juicer – set aside for now.
Filling the Preserving Jar:
Mix the salt and sugar in a bowl.
Take the cleaned preserving jar and add two spoonfuls of the salt mixture.
Start layering the orange slices/peel and alternate layers of oranges and salt mixture.
Sprinkle the salt between the layers. If desired, you can add washed herbs and peppercorns in between.
Fill the jar almost to the top, and add the orange juice.
Use a ferment glass weight on top (or a glass bowl), to keep the fruit under the liquid. If there’s not enough liquid to cover them right away, just close the jar and wait a day. If there’s still not enough liquid the next day, top it up with boiled water until everything is fully covered.
Leave the jar to ferment at room temperature.
Monitoring the Preserved Oranges Fermentation Process for around 3 to 4 weeks:
Swirl the jar every three days to distribute the salty liquid evenly.
Every three days, you should open the lid of the jar very briefly to release excess CO₂. If you can hear bubbles or a slight hiss, it indicates that the fermentation is active!
After around 3-4 weeks, fermentation is complete, so you can stop opening the lid regularly.
Notes
Check for any signs of them turning bad, like weird taste, bad smell, or visible changes like mold! When in doubt, throw it out!
Trick to speed up fermentation: If you have an old jar of fermented oranges: Take a few spoonfuls of the brine and add it to your new batch. The good bacteria in the old brine will help kick-start the fermentation process.
- Prep Time: 30 Minutes
- Fermentation Time: 4 Weeks
- Category: Seasoning
- Method: Preserved
- Diet: Vegan